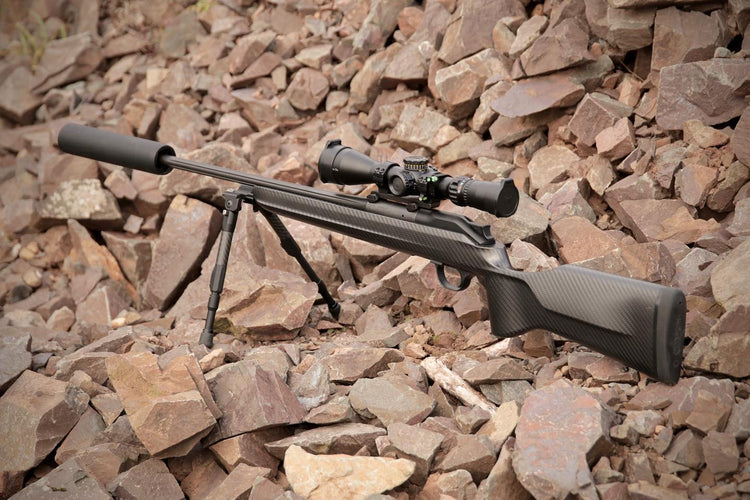
PRECISION SCOPE MOUNTING SOLUTION FOR LONG RANGE SHOOTING WITH YOUR BLASER SADDLE MOUNT
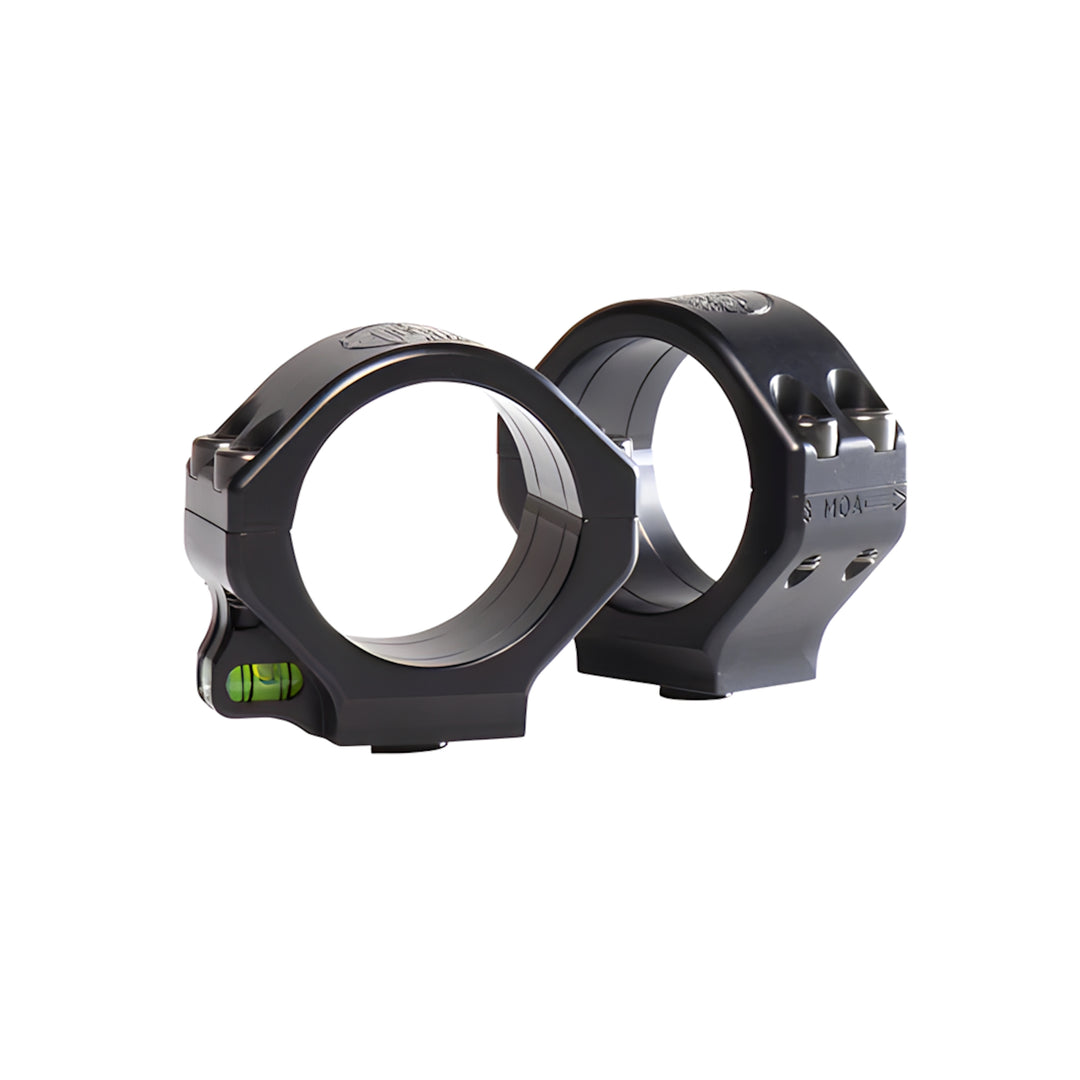
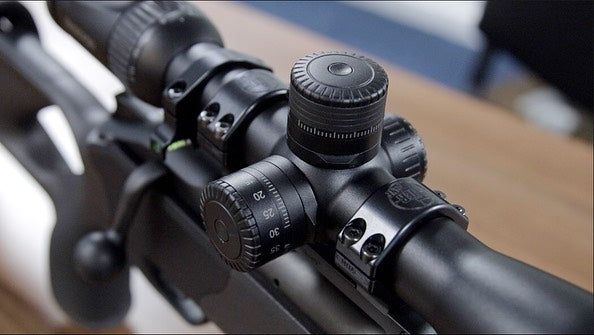
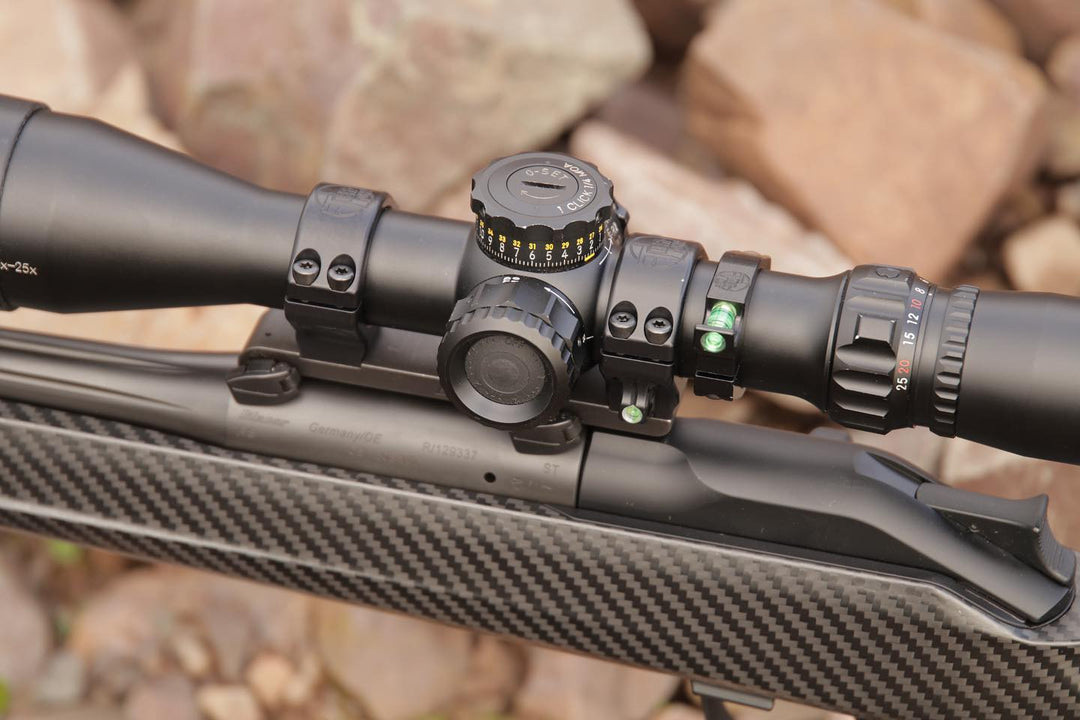
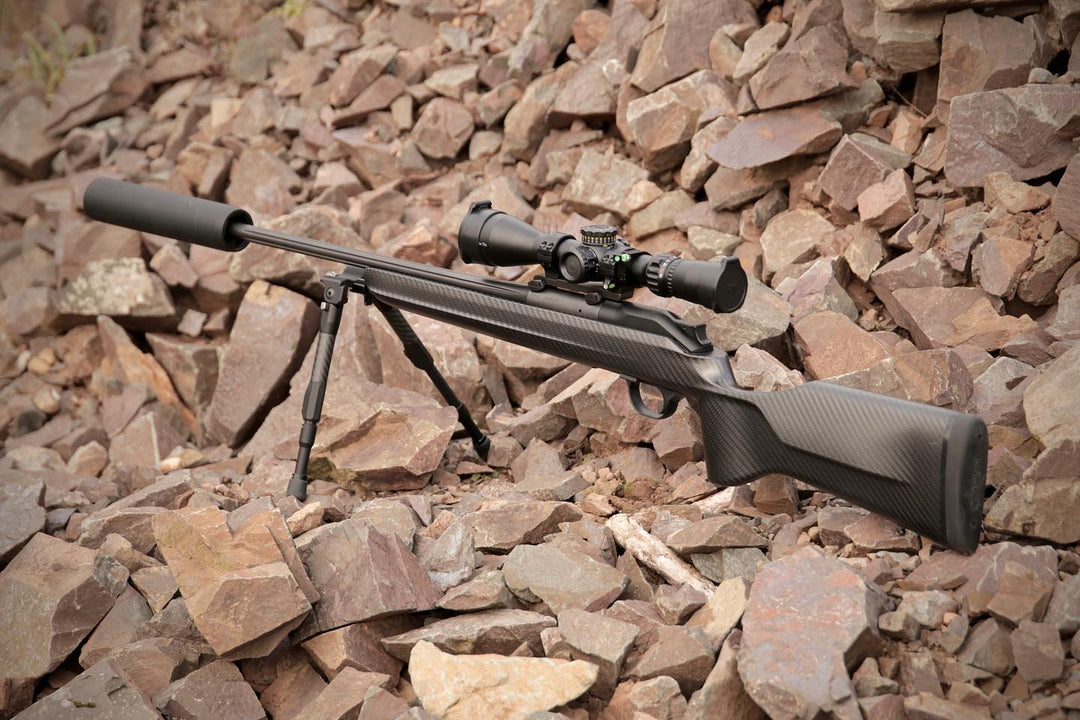
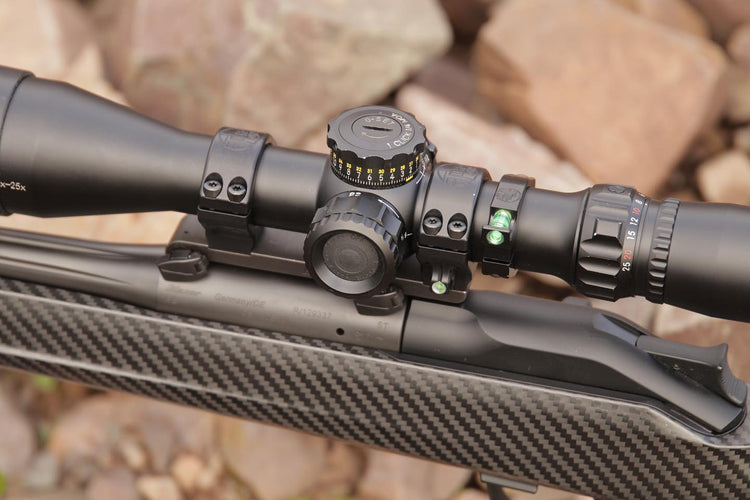
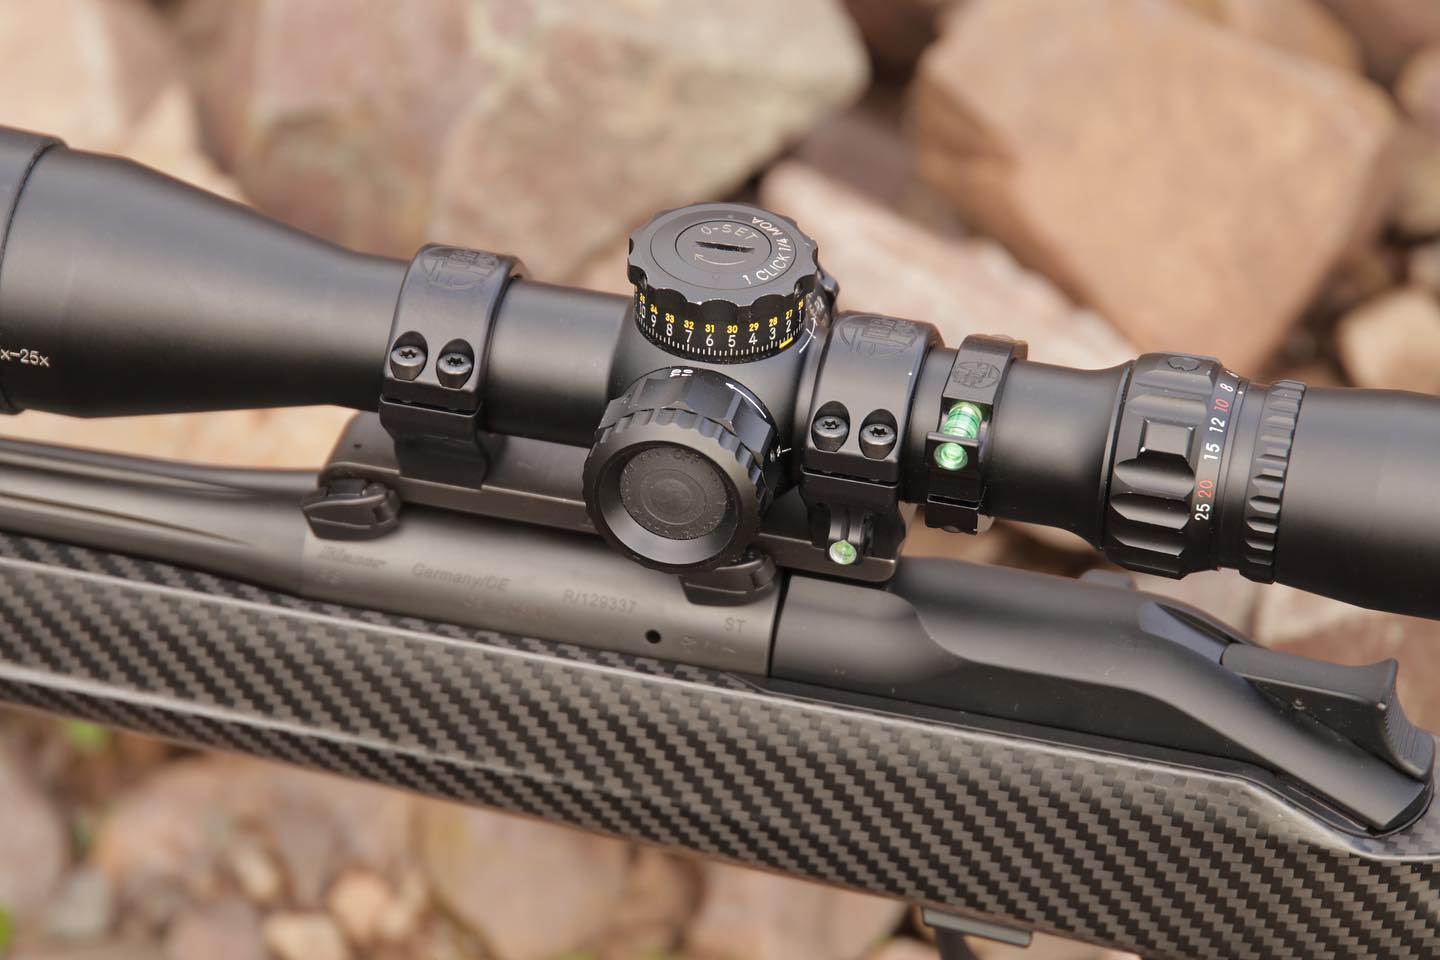
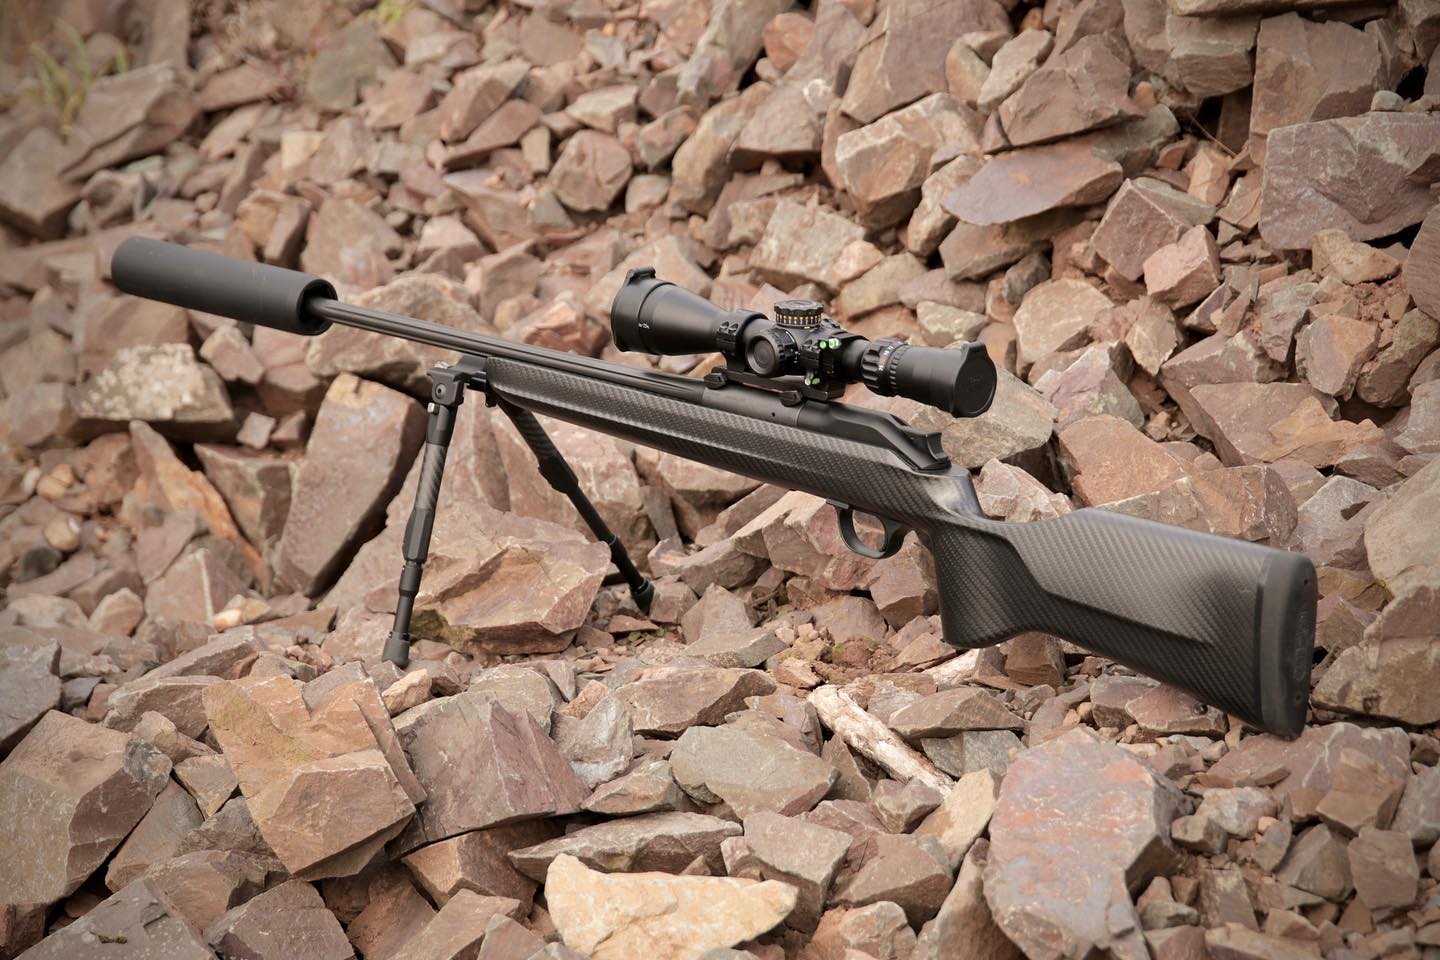
These fantastic new scope rings attach to your existing Blaser Saddle Mount replacing your standard rings.
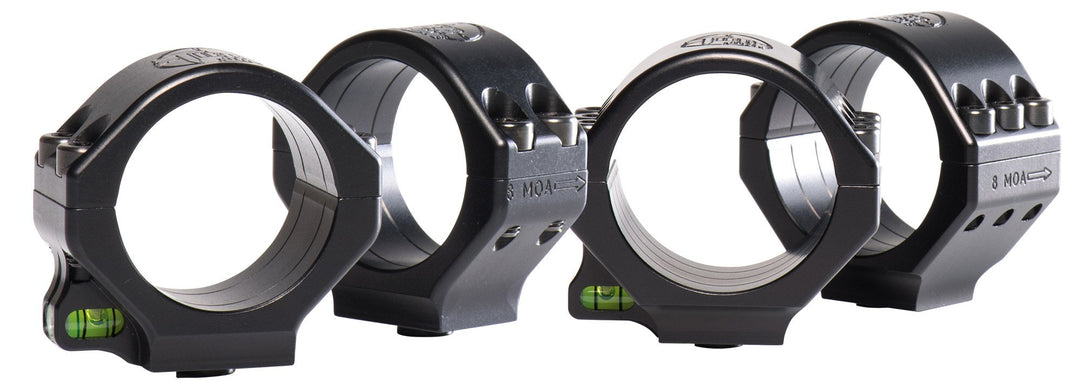
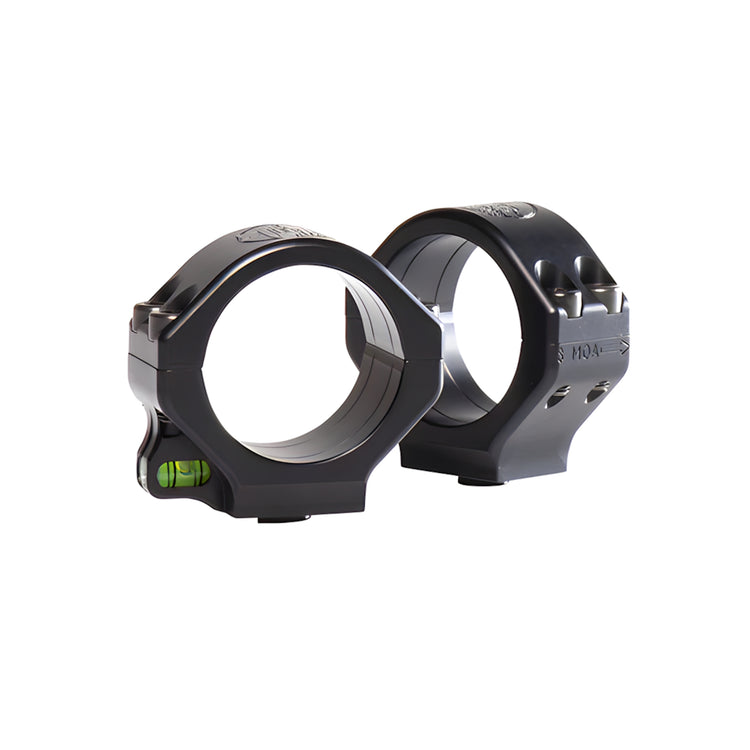
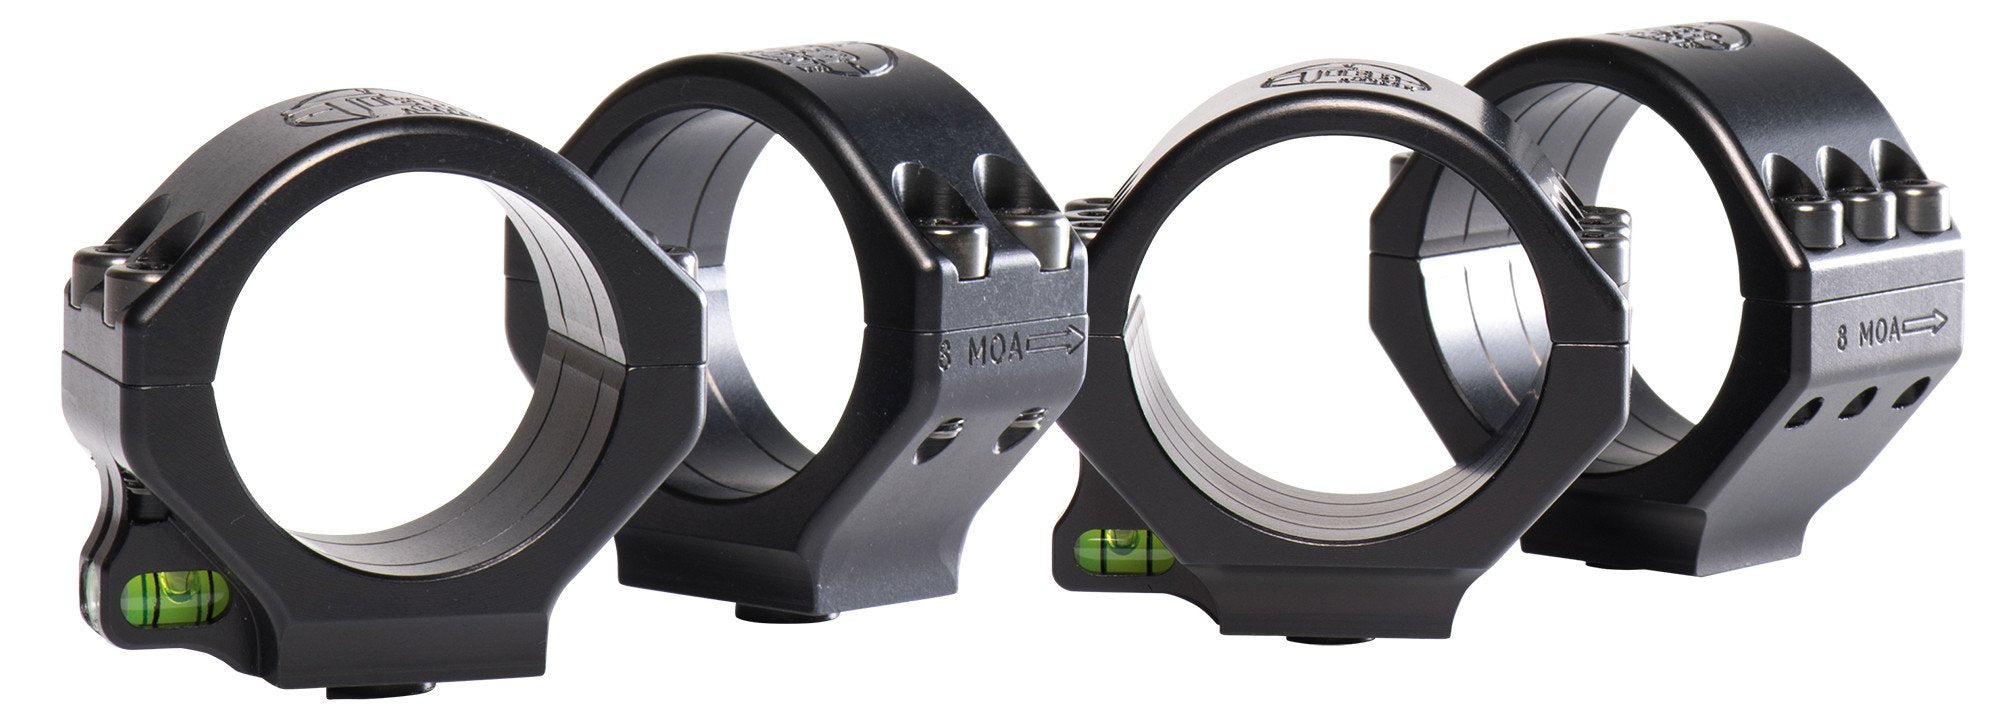
The classic styling compliments this elegant rifle perfectly and with a ring width of 19mm(except 32moa which is 5mm wider with six top screws), they can secure any scope effectively and ensure no movement occurs.
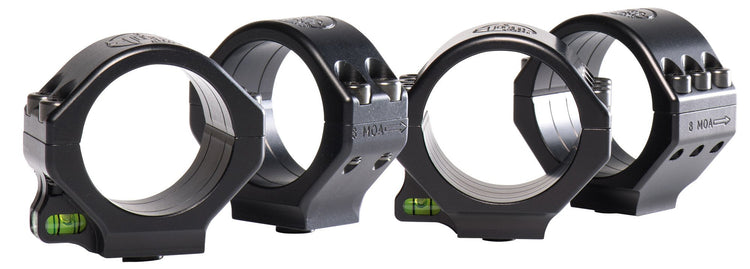
Because of our ‘One Hit’ machining method where all critical dimensions are machined in one setup, thus eliminating any error, we are able to offer these rings in various elevation such as 0, 8, 20 and 32MOA to allow the customer to use their optic to its full long range potential.
Supplied with Titanium ring cap screws and Stainless saddle attachment screw.
Tier-One Blaser rings are made from aluminium 7075T6.
Due to the standard Blaser saddle base having 12moa built into it, the resulting elevations are achieved:
| Ring Elevation | Total elevation achieved |
| 0moa | 12moa |
| 8moa | 20moa |
| 20moa | 32moa |
| 32moa | 44moa |
Design
- Manufactured from High Grade 7075T6 Aluminium for very light weight but excellent rigidity
- Large scope clamping area to withstand heavy recoil
- Made in 30mm-34mm-36mm and 40mm tube sizes
- Mil-Spec 30 micron hard anodised finish
- Built in Anti-Cant bubble
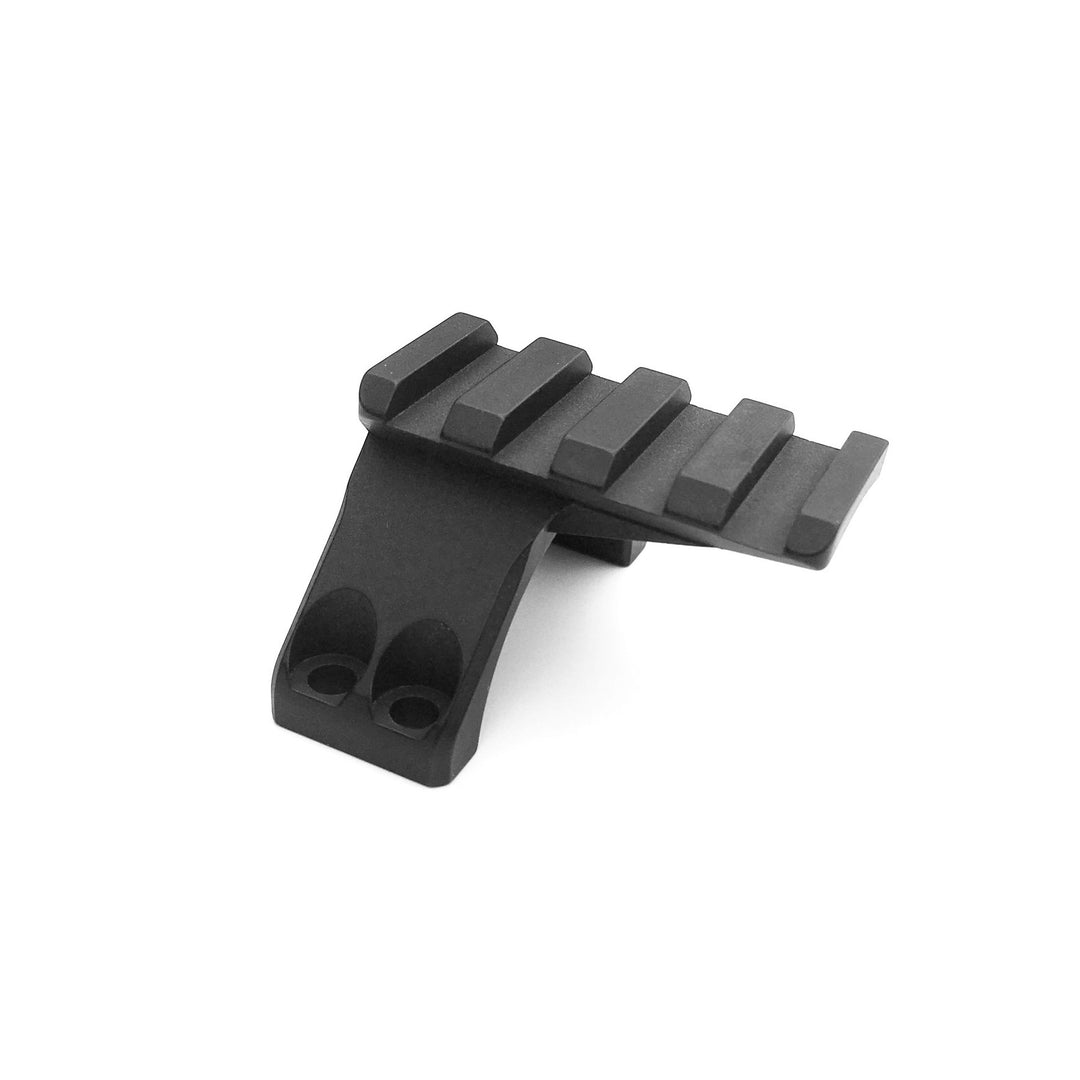
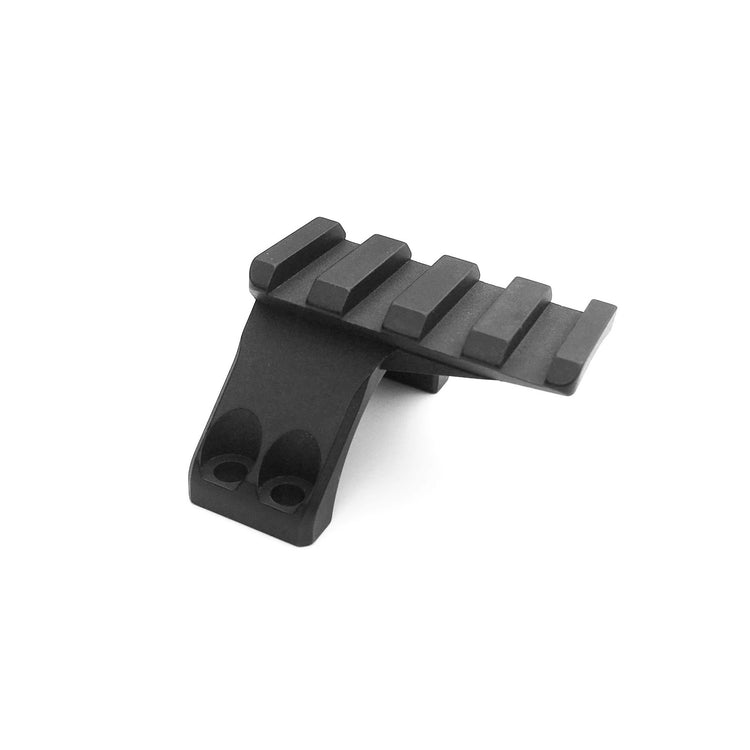
- Compatible with Tier-One bolt on accessory rails available for ring caps
- Compatible with Tier-One ring reducers
- One Hit machining to ensure repeatability
- Supplied in Hard Plastic Case complete with necessary Torx bits
Two options for using a fixed bubble level to level the fall of shot with your scope:
If using a holdover reticle:
- Set up a plumb bob line at about 10 – 30 meters.
- Attach the rings to the rifle.
- Put in the scope, lightly tension the ring cap screws.
- Point the rifle / scope at the plumb bob line.
- Level the bubble level on the rings.
- Rotate the scope in the rings so the vertical cross hair is perfectly vertical to the plumb bob line.
- Correctly tension ring cap screws.
- Have a beer.
If dialling up on the elevation turret:
- This is aka a "Tall Target Test".
- Set up a large target at 50m or 100m. 50m is good because you can shoot tiny groups and the wind has no major effect.
- Use a plumb bob to scribe a perfectly vertical line up the target.
- Mount the rings and scope. Get the scope roughly level in the rings by aligning the vertical cross hair with the vertical plumb bob line while the bubble level is level.
- Properly tension the ring screws.
- Zero in on a aiming spot off the line, ensure the bubble level is level.
- Shoot a group at a aiming spot at the bottom of the vertical line. Ensure bubble level is level.
- Dial up an amount and shoot the next group near the top of the vertical line while you still aim at the aiming spot at the bottom. Ensure bubble level is level.
- Note if the high group is to the left or right of the vertical line:
- If it is left; rotate the scope in the rings clockwise a small amount.
- If it is right; rotate the scope in the rings anti-clockwise a small amount.
- Be sure to re-tension the rings correctly. This is a good moment to assess if your scope position and eye relief is comfortable for you.
- Repeat groups until the upper shots group perfectly on the vertical line. Ensure bubble level is level for each shot and group.
- Use this test and some maths to check your scope elevation dial is indeed applying the correct elevation selected. Not all do. Good ballistic solvers have an input to correct for this.
- Not all scopes have the crosshairs aligned perfectly vertical when the elevation dial has the shots tracking perfectly vertical. This is a common issue with anything less than top tier optics.
- Beer.
Note:
- With second focal plane reticle scopes, use the zoom setting you will use in the field when aligning or shooting each group; as many second focal plane scopes will shift POI with zoom changes.
Why choose Stäger?
The highest standard of quality is our norm. Our designs, technologies, materials and workmanship are second to none.
We will do our best to get you into the right product for your purpose. We make the process clear and easy.
Stäger Sport
The source of high quality sporting and professional goods


