


![]()
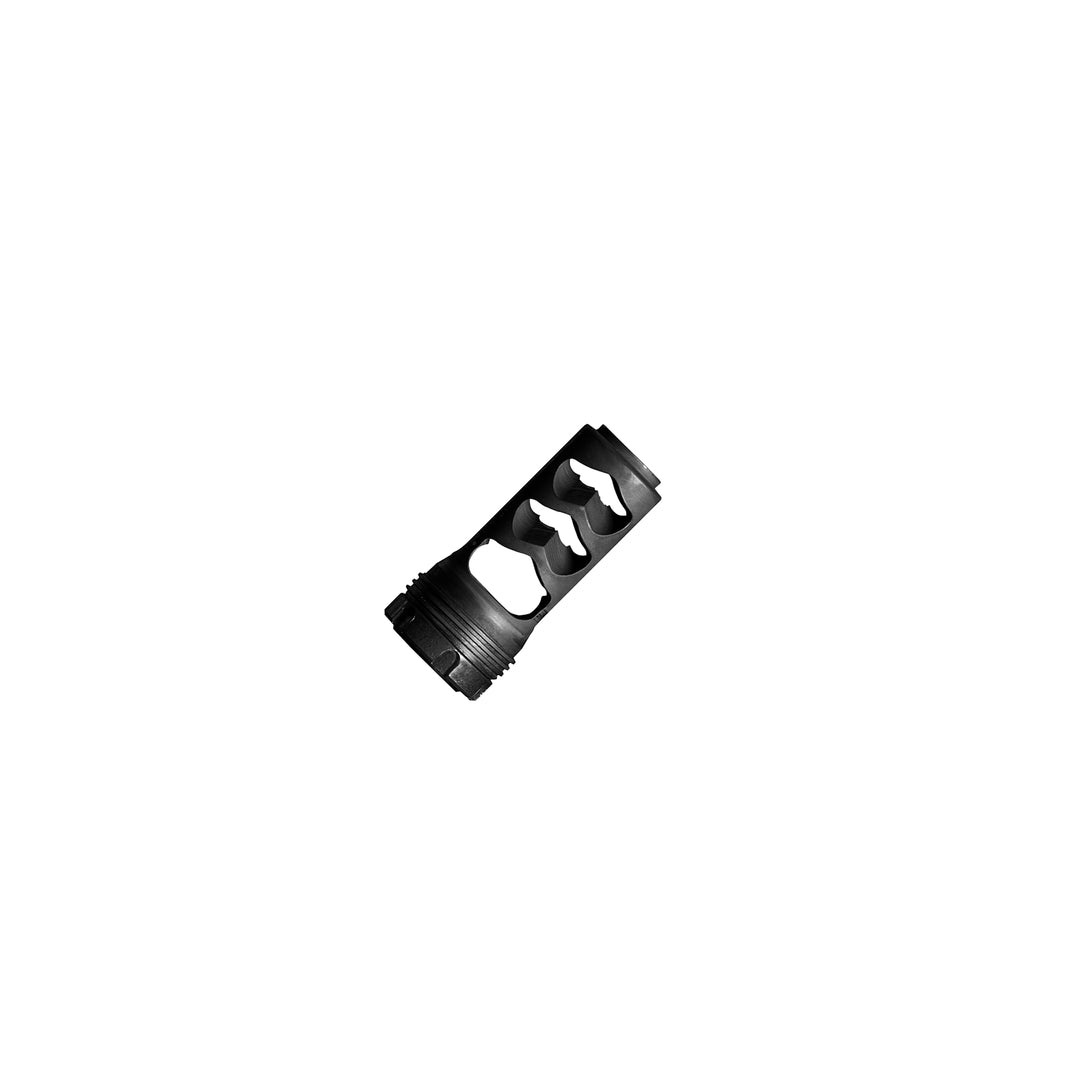
Muzzle brake for the MARKSMAN and marksman prs suppressors for exceptional mil-spec adaptability and performance.
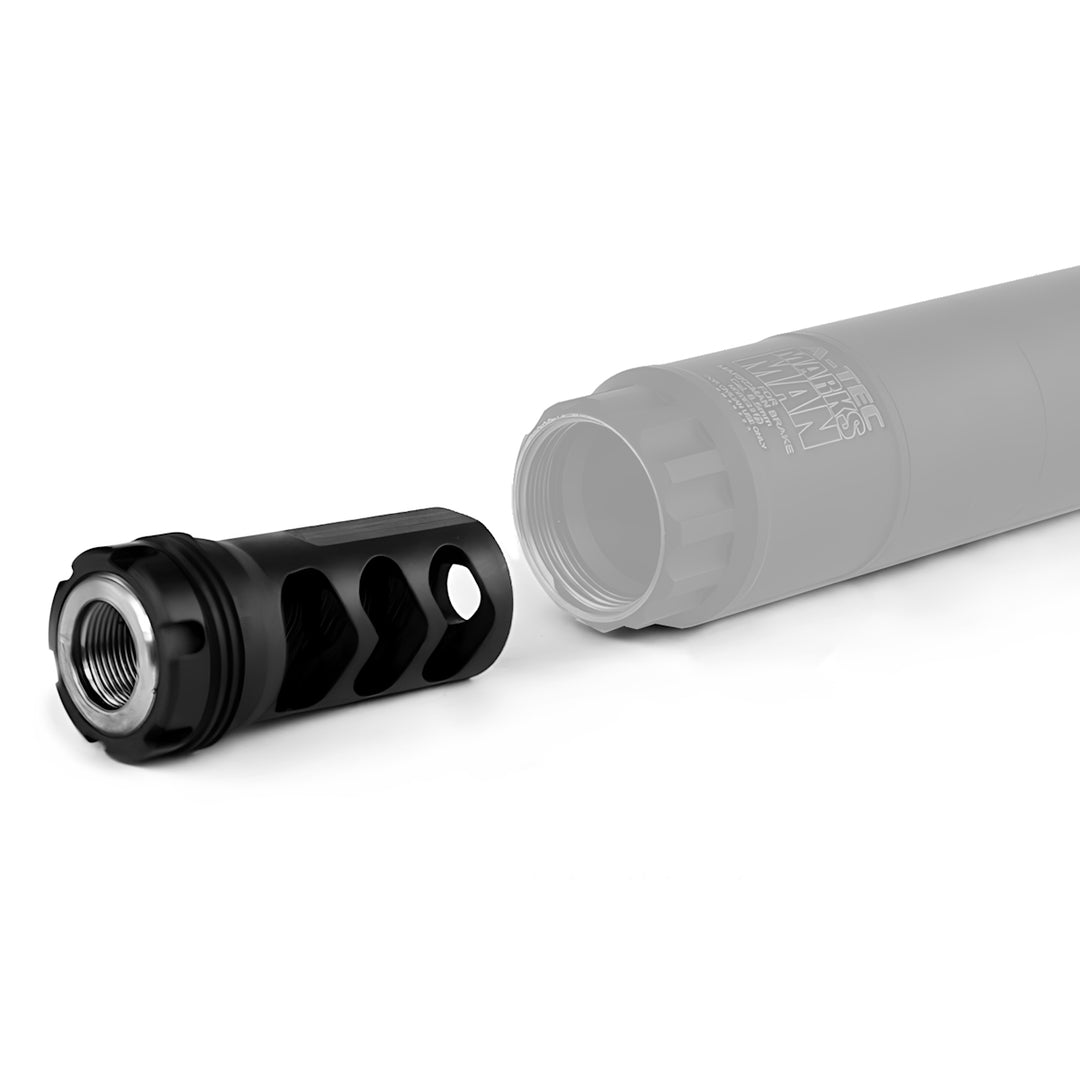
The system allows the operator to choose between significant recoil reduction and reduced length with the brake alone, or, sound and flash reduction with the Marksman or Marksman PRS suppressor attached.
Design Features
- Stainless steel used in all components. The muzzle brake is black Nitrited. Nitrite surface treatment makes the exposed brake extremely hard and durable thereby resisting wear and tear. The material selection prioritises durability and precision over lightweight.
- The muzzle brake features three large redirection baffles to drastically reduce recoil. The unit is attached to the rifle thread using a precision thread adaptor and timing (clocking) locknut (contra nut). It does not need gunsmithing to ensure correct clocking. When fitted and clocked, the gas is directed sideways only, eliminating excessive dust from under the muzzle.
- The muzzle brake first/rear chamber directs gas sideways and not rearwards; this shields the firer and reduces shockwave. The front two chambers redirect gas rearwards for maximum recoil reduction.
- The suppressor fits over the muzzle brake, containing it when attached. It has three expansion suppressor stages followed by a brake endcap.
- A proprietary thread is used to attach the suppressor to the muzzle brake in seconds with minimum screwing on. The system uses multiple referenced interface surfaces to ensure the suppressor attaches true, concentric and repeatably, every time.
- This unit is designed for any calibre up to large magnum calibres such as 338LM or 300NM. Send it.
- The brake includes a thread adaptor and lock nut which are designed for long term or permanent fixing to your rifle. The quick attach / detach function refers to the suppressor onto the muzzle brake.
- A-Tec have only one grade of precision: Match Grade. A-Tec suppressors are second to none for concentricity, straightness and fine dimensional tolerances. This is especially evident in our bore apertures which are tight to the projectile to maximise sound reductive effect. To get peak performance from an A-Tec suppressor, one's rifle muzzle must be correctly crowned, threaded and shouldered.
What comes in the box?
- Muzzle brake
- Thread adaptor
- Lock nut / Contra nut
- Steel spanner / wrench
MOUNTING THE A-TEC MARKSMAN BRAKE
We recommend using a gunsmith to check your muzzle thread concentricity, dimensions and alignment before fitting. We also recommend having as large a thread diameter as possible on your barrel.
Do a dry run of all of the below steps before adding thread locking adhesive. Especially regarding the timing of the brake.
Use Loctite 263 or equivalent.
We are going to adhere the thread adaptor to the barrel muzzle thread first. We are going to use the muzzlebrake and contra nut to apply torque to the thread adaptor by hand. Lastly we will adhere the muzzle brake to the thread adaptor at the correct clock position / timing.
- Do not be tempted to screw the muzzle brake on to your rifle immediately after purchase without following the below instructions as you might get the components stuck.
- Check that the rifle is unloaded and remove the bolt from the action.
- Place the rifle in a vice.
- Thoroughly clean and degrease all components and threads.
- Screw the stainless steel thread adaptor all the way into the muzzlebrake and then one full turn out again. The thread adaptor has the small unthreaded section inserted first.
- Screw on and torque up the black contra nut against the rear shoulder of the muzzlebrake with the supplied wrench. The nut cutouts are open to the rear towards the rifle. For barrels with diameter larger than 23mm at the shoulder: Ensure the rear face of the white steel thread adaptor is slightly proud of the black contra nut, one thread is enough. This is so the barrel thread shoulder meets the adaptor surface and not the contra nut.
- Now screw the muzzlebrake with the thread adaptor and contra nut on to the rifle muzzle thread.
- Grasp the muzzlebrake and apply torque to the muzzlebrake by hand so that the thread adaptor is tight on the muzzle thread shoulder.
- Grasp the muzzlebrake to keep it stationary and loosen only the contra nut with the wrench.
- Adjust the muzzlebrake rotation so the brake gas ports are directed horizontal. Try screwing on further first. If you hit the stop before achieving level, unscrew until level. Note the contra nut is not to be jammed against the barrel muzzle thread shoulder.
- Reapply torque to the contra nut while grasping the muzzlebrake to lock it in the level position.
- Use a sharpy pen to mark a reference line on the barrel, thread adaptor and brake to show perfect alignment for the next step.
- Now disassemble, repeat several times, and prepare for a live run with adhesive.
- Apply adhesive to the barrel muzzle thread.
- Repeat steps 4 - 6.
- Wipe off excess adhesive as you go. Dry patch the bore if adhesive got in there. Let the adhesive set for a couple of hours.
- Repeat step 8 and remove the brake from the thread adaptor, leave the contra nut in place aligned to your timing mark.
-
Apply adhesive to the internal thread of the muzzle brake.
- Apply the muzzle brake onto the thread adaptor to meet the contra nut aligned with your timing mark. Grasp the muzzle brake to keep it clocked and apply torque to the contra nut with the wrench.
- Let the thread adhesive cure before attempting suppressor attach / detachment from the muzzlebrake. Ensure muzzle brake external suppressor attachment thread is well greased at all times.
For removal or separation of the components, always use heat to soften the adhesive otherwise the threads will be damaged. An electric digital set heat gun is the best tool for this job. The removal temperature for Loctite 263 is at least 250 deg C. Apply localised heat to the object until it reaches at least this temperature, then disassemble while the parts are still hot. A little smoke and strong smell of plastic vapour is a sign it is hot enough. Remember we applied torque to the device using only our hands so removal should not require immense torque. Remove the brake from the thread adaptor first to avoid having the thread adaptor stuck in the brake. Use an adjustable spanner carefully on the muzzlebrake flats. The thread adaptor can be turned with a good set of soft jaw pliers if necessary.
This requires a firearms licence to purchase; this must be presented on pick up, or for the item to be couriered to you a firearms mail order form is required.
We will contact you after purchase with the appropriate form and what is required.
Why choose Stäger?
Quality
The highest standard of quality is our norm. Our designs, technologies, materials and workmanship are second to none.
Service
We will do our best to get you into the right product for your purpose. We make the process clear and easy.
Stäger Sport
The source of high quality sporting and professional goods